
How to Set Up an Amazon Seller Account in UAE (Step-by-Step 2026)
Quick Answer
To set up an Amazon seller account in the UAE, go to sell.amazon.ae, choose between an Individual or Professional selling plan, and complete Amazon's seller registration by uploading your Emirates ID, a UAE trade license (required for Professional sellers), proof of address, and bank account details. Amazon's Seller Identity Verification team typically reviews applications within 2–3 business days, after which you can list products and, if you choose, enroll in Fulfilled by Amazon (FBA) for UAE logistics.
The rest of this guide breaks that process down into exact steps, so you don't lose time to avoidable rejections.

Why the UAE Is Worth the Paperwork
The UAE e-commerce market is on track to cross the $9 billion mark, and Amazon.ae remains the country's leading online marketplace by both traffic and sales volume. Add to that a 0% personal income tax environment and access to a wider GCC shopper base from a single account, and it's clear why so many sellers — local and international — are prioritizing amazon.ae seller registration over building an independent storefront from scratch.
But Amazon's UAE verification process is stricter than most first-time sellers expect. Most rejections don't happen at the registration form — they happen during document verification, usually because of small mismatches between a trade license, an Emirates ID, and a bank statement. Getting the sequence right the first time saves weeks.
Step 1: Decide Between an Individual and Professional Seller Account
Amazon.ae offers two account types, and your choice affects both cost and what you're allowed to sell.
Individual Selling Plan
- Best for sellers moving fewer than 40 units a month
- No monthly subscription fee — you pay a small per-item fee instead
- No trade license required in most cases
- Limited access to advertising tools and bulk listing features
Professional Selling Plan
- Best for businesses planning consistent volume or multi-category catalogs
- Carries a fixed monthly subscription fee (roughly AED 146.90, equivalent to $39.99, plus VAT — though Amazon periodically runs fee waivers for new sellers, so check the current offer at sign-up)
- Requires a valid UAE trade license or business registration
- Unlocks Sponsored Products advertising, bulk uploads, and eligibility for Amazon Brand Registry
If you're building a real brand rather than clearing out a garage, the Professional plan is almost always the right call — it's what unlocks the tools you'll eventually need anyway.
Step 2: Gather Your Documents Before You Start
Amazon's Seller Identity Verification team rejects a large share of first-time applications simply because documents don't match each other. Prepare these before you touch the registration form:
- Emirates ID or passport of the business owner or authorized signatory
- UAE trade license (for Professional accounts) — the name, address, and license number must match exactly across every document you upload
- Proof of address — a recent utility bill or bank statement, no older than 90 days
- UAE bank account details (IBAN) for receiving disbursements
- VAT certificate, if your turnover requires VAT registration with the Federal Tax Authority
- Business email address and an active phone number for verification calls
If you don't yet have a trade license, UAE residents commonly use the DED e-Trader license as the fastest, lowest-cost route into Professional selling — it's typically issued within a few working days for around AED 1,070 a year, without needing office space. Sellers based outside the UAE can still register, but should expect closer scrutiny on address verification and banking setup.
Step 3: Complete Registration on Seller Central
Once your documents are ready, the registration flow itself is straightforward:
- Go to sell.amazon.ae and click "Start Selling."
- Enter your name, business email (or existing Amazon customer account), and set a password.
- Choose your Business Location and Business Type (privately owned, state-owned, publicly listed, or charity).
- Select your Selling Plan — Individual or Professional.
- Enter your trade license number and upload the license document (Professional accounts).
- Upload your Emirates ID or passport, and enter its expiry date.
- Add your UAE bank account (IBAN) for payouts.
- Provide a credit card for verification and any applicable subscription charges.
- Submit for review — Amazon's verification team typically responds within 2–3 business days, though document mismatches can extend this to a couple of weeks.
Amazon may request a short video call to verify your identity and business details before final approval — this is standard, not a red flag.
Step 4: Set Up Your Store Before Your First Listing
Once approved, resist the urge to list products immediately. A few setup steps up front prevent problems later:
- Complete your Business Information page in full — incomplete profiles are flagged more often during periodic re-verification.
- Register for VAT with the Federal Tax Authority if your projected turnover crosses the mandatory threshold, and link your Tax Registration Number in Seller Central.
- Decide on fulfillment — Fulfilled by Merchant (FBM) gives you full control over shipping; Amazon FBA UAE hands storage, packing, and delivery to Amazon's fulfillment network, which is the more common choice for sellers prioritizing Prime eligibility and delivery speed.
- Set your referral fee expectations — these vary by category, generally in the 8–15% range of the sale price, in addition to any fulfillment fees.
Step 5: List Your First Products
With your account and fulfillment method in place, product listings are where most of your long-term visibility is won or lost:
- Use keyword-optimized titles and bullet points built around how UAE shoppers actually search, not direct translations of a US listing.
- Include Arabic-language content where relevant — it materially improves conversion for UAE and wider GCC buyers.
- Follow Amazon's image and A+ Content guidelines closely; incomplete visual content is one of the most common reasons listings underperform in search.
If this is the part of the process that feels overwhelming, it's worth knowing this is exactly where most new UAE sellers lose momentum — not at registration, but at the optimization stage that follows it.
Common Mistakes That Delay Approval
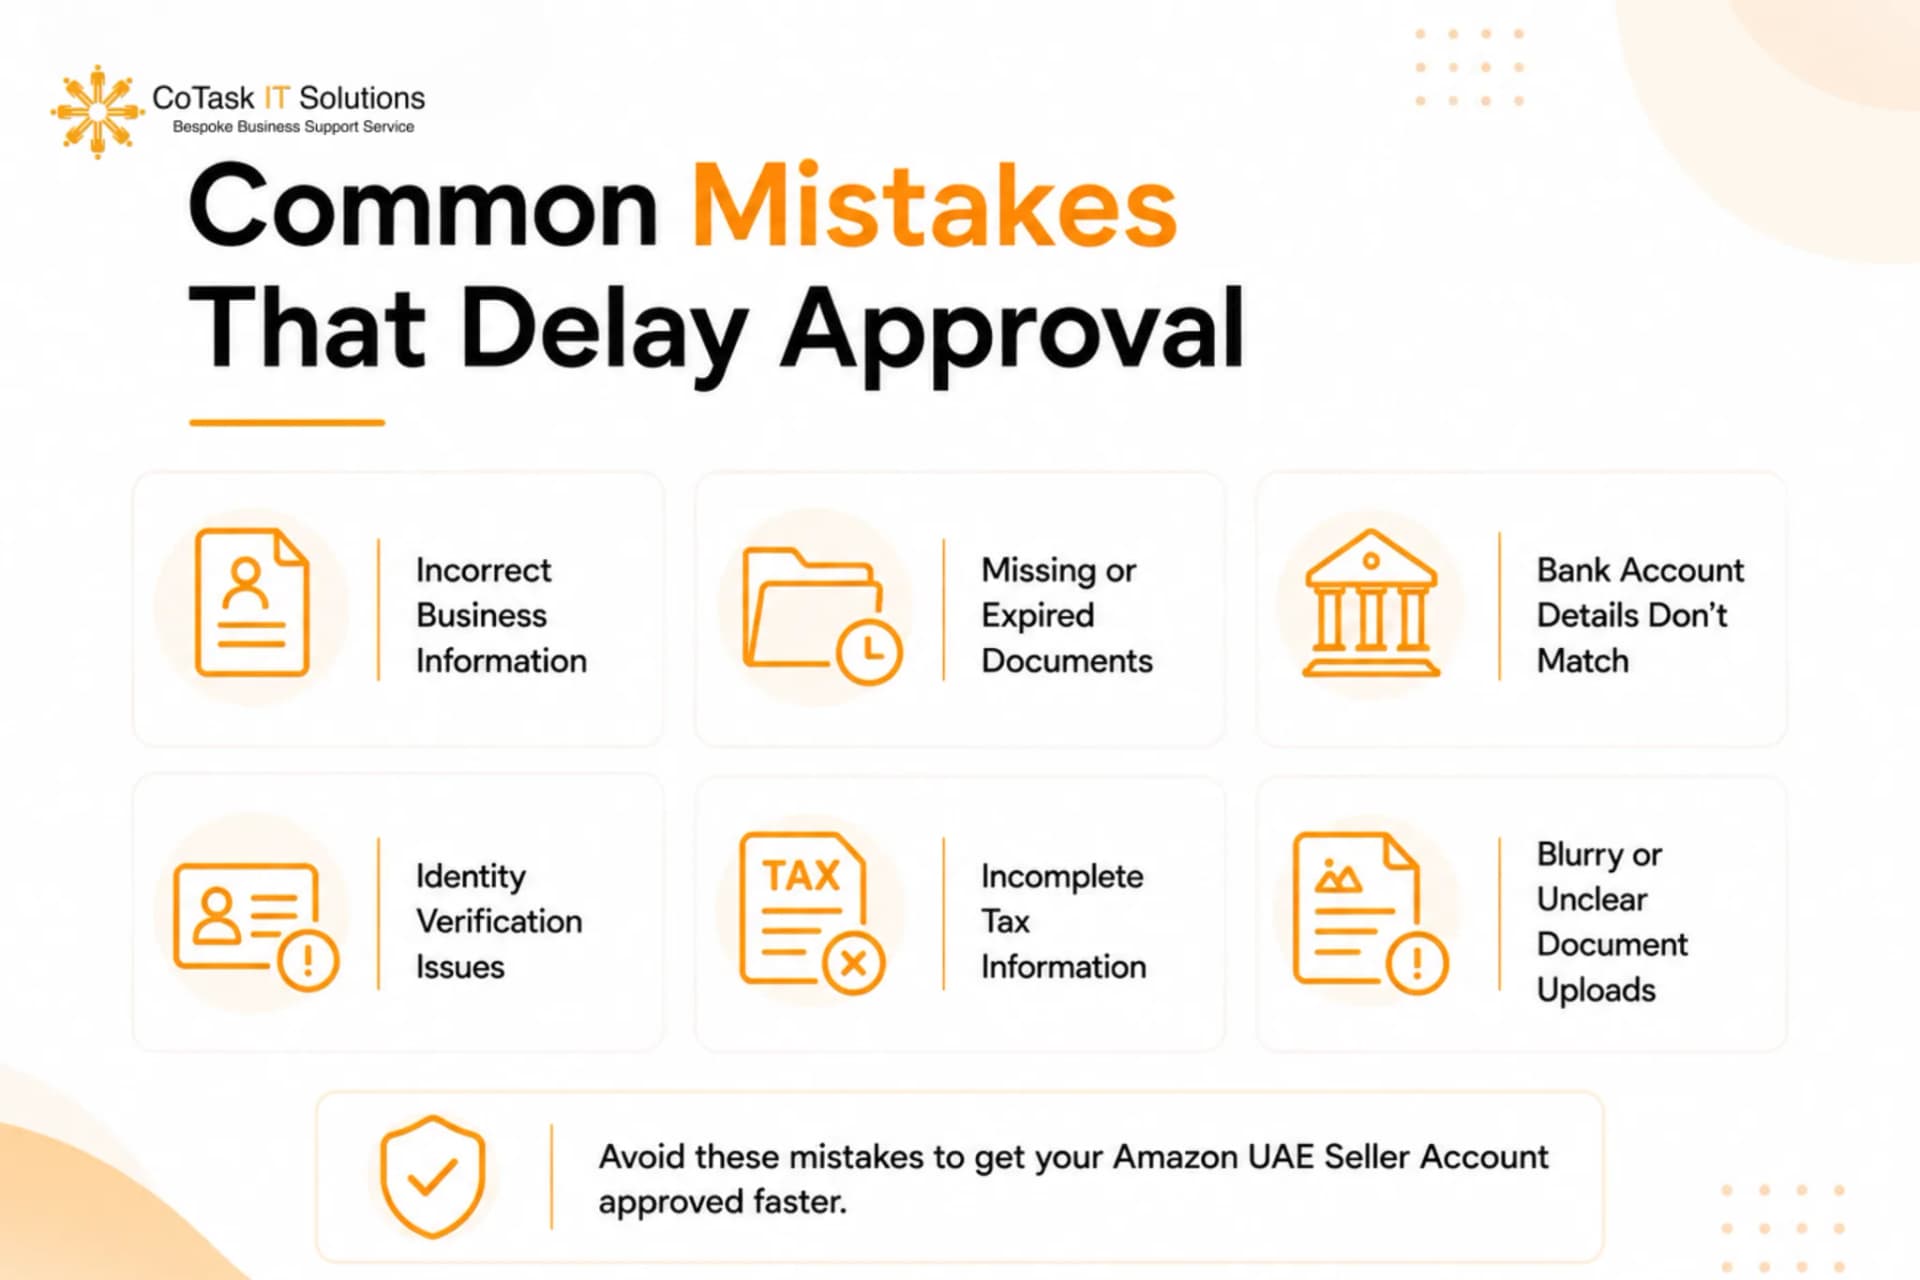
- Name or address mismatches across the trade license, Emirates ID, and bank statement
- Blurry or cropped document uploads — Amazon's system flags low-quality scans automatically
- Using a personal bank account instead of a business account when registering as a Professional seller
- Skipping VAT registration when turnover already requires it, which surfaces later as a compliance issue rather than a one-time fix
- Rushing the video verification call without having your documents open and ready to reference
How Long Does the Whole Process Take?
For a seller with clean, consistent documents, expect:
- Trade license issuance (DED e-Trader) — Typical Timeline: 1–3 working days
- Seller Central registration form — Typical Timeline: Same day
- Amazon identity verification — Typical Timeline: 2–3 business days
- Video verification call (if requested) — Typical Timeline: Scheduled within a few days of request
- Total, start to first listing — Typical Timeline: About 1–2 weeks
Inconsistent documentation is the single biggest variable — it's the difference between a one-week launch and a month-long back-and-forth.
Frequently Asked Questions
Where This Fits in Your Bigger Amazon Strategy
Getting your amazon seller account approved is step one — the account itself doesn't generate sales. What happens next (listing optimization, advertising, inventory and account management) is where most UAE sellers either compound their early setup or stall out despite a clean launch.
If you'd rather have this handled end-to-end, Cotasks' Amazon seller account setup service manages registration, documentation, and store configuration for sellers entering the UAE market. Once your account is live, our Amazon marketplace management service covers listing optimization, advertising, and day-to-day account health — and if you're planning to expand beyond Amazon, our multichannel marketplace management service extends the same approach to platforms like Noon.
Not sure which setup fits your business? Get in touch with our team for a free account review, or read more on why marketplace management matters before you scale.
About the Author
This guide is produced by the Cotasks IT Solutions team, an Amazon SPN (Service Provider Network) Partner supporting 200+ brands across the UAE, USA, UK, Saudi Arabia, Australia, and India with Amazon, Noon, and multichannel marketplace management.